

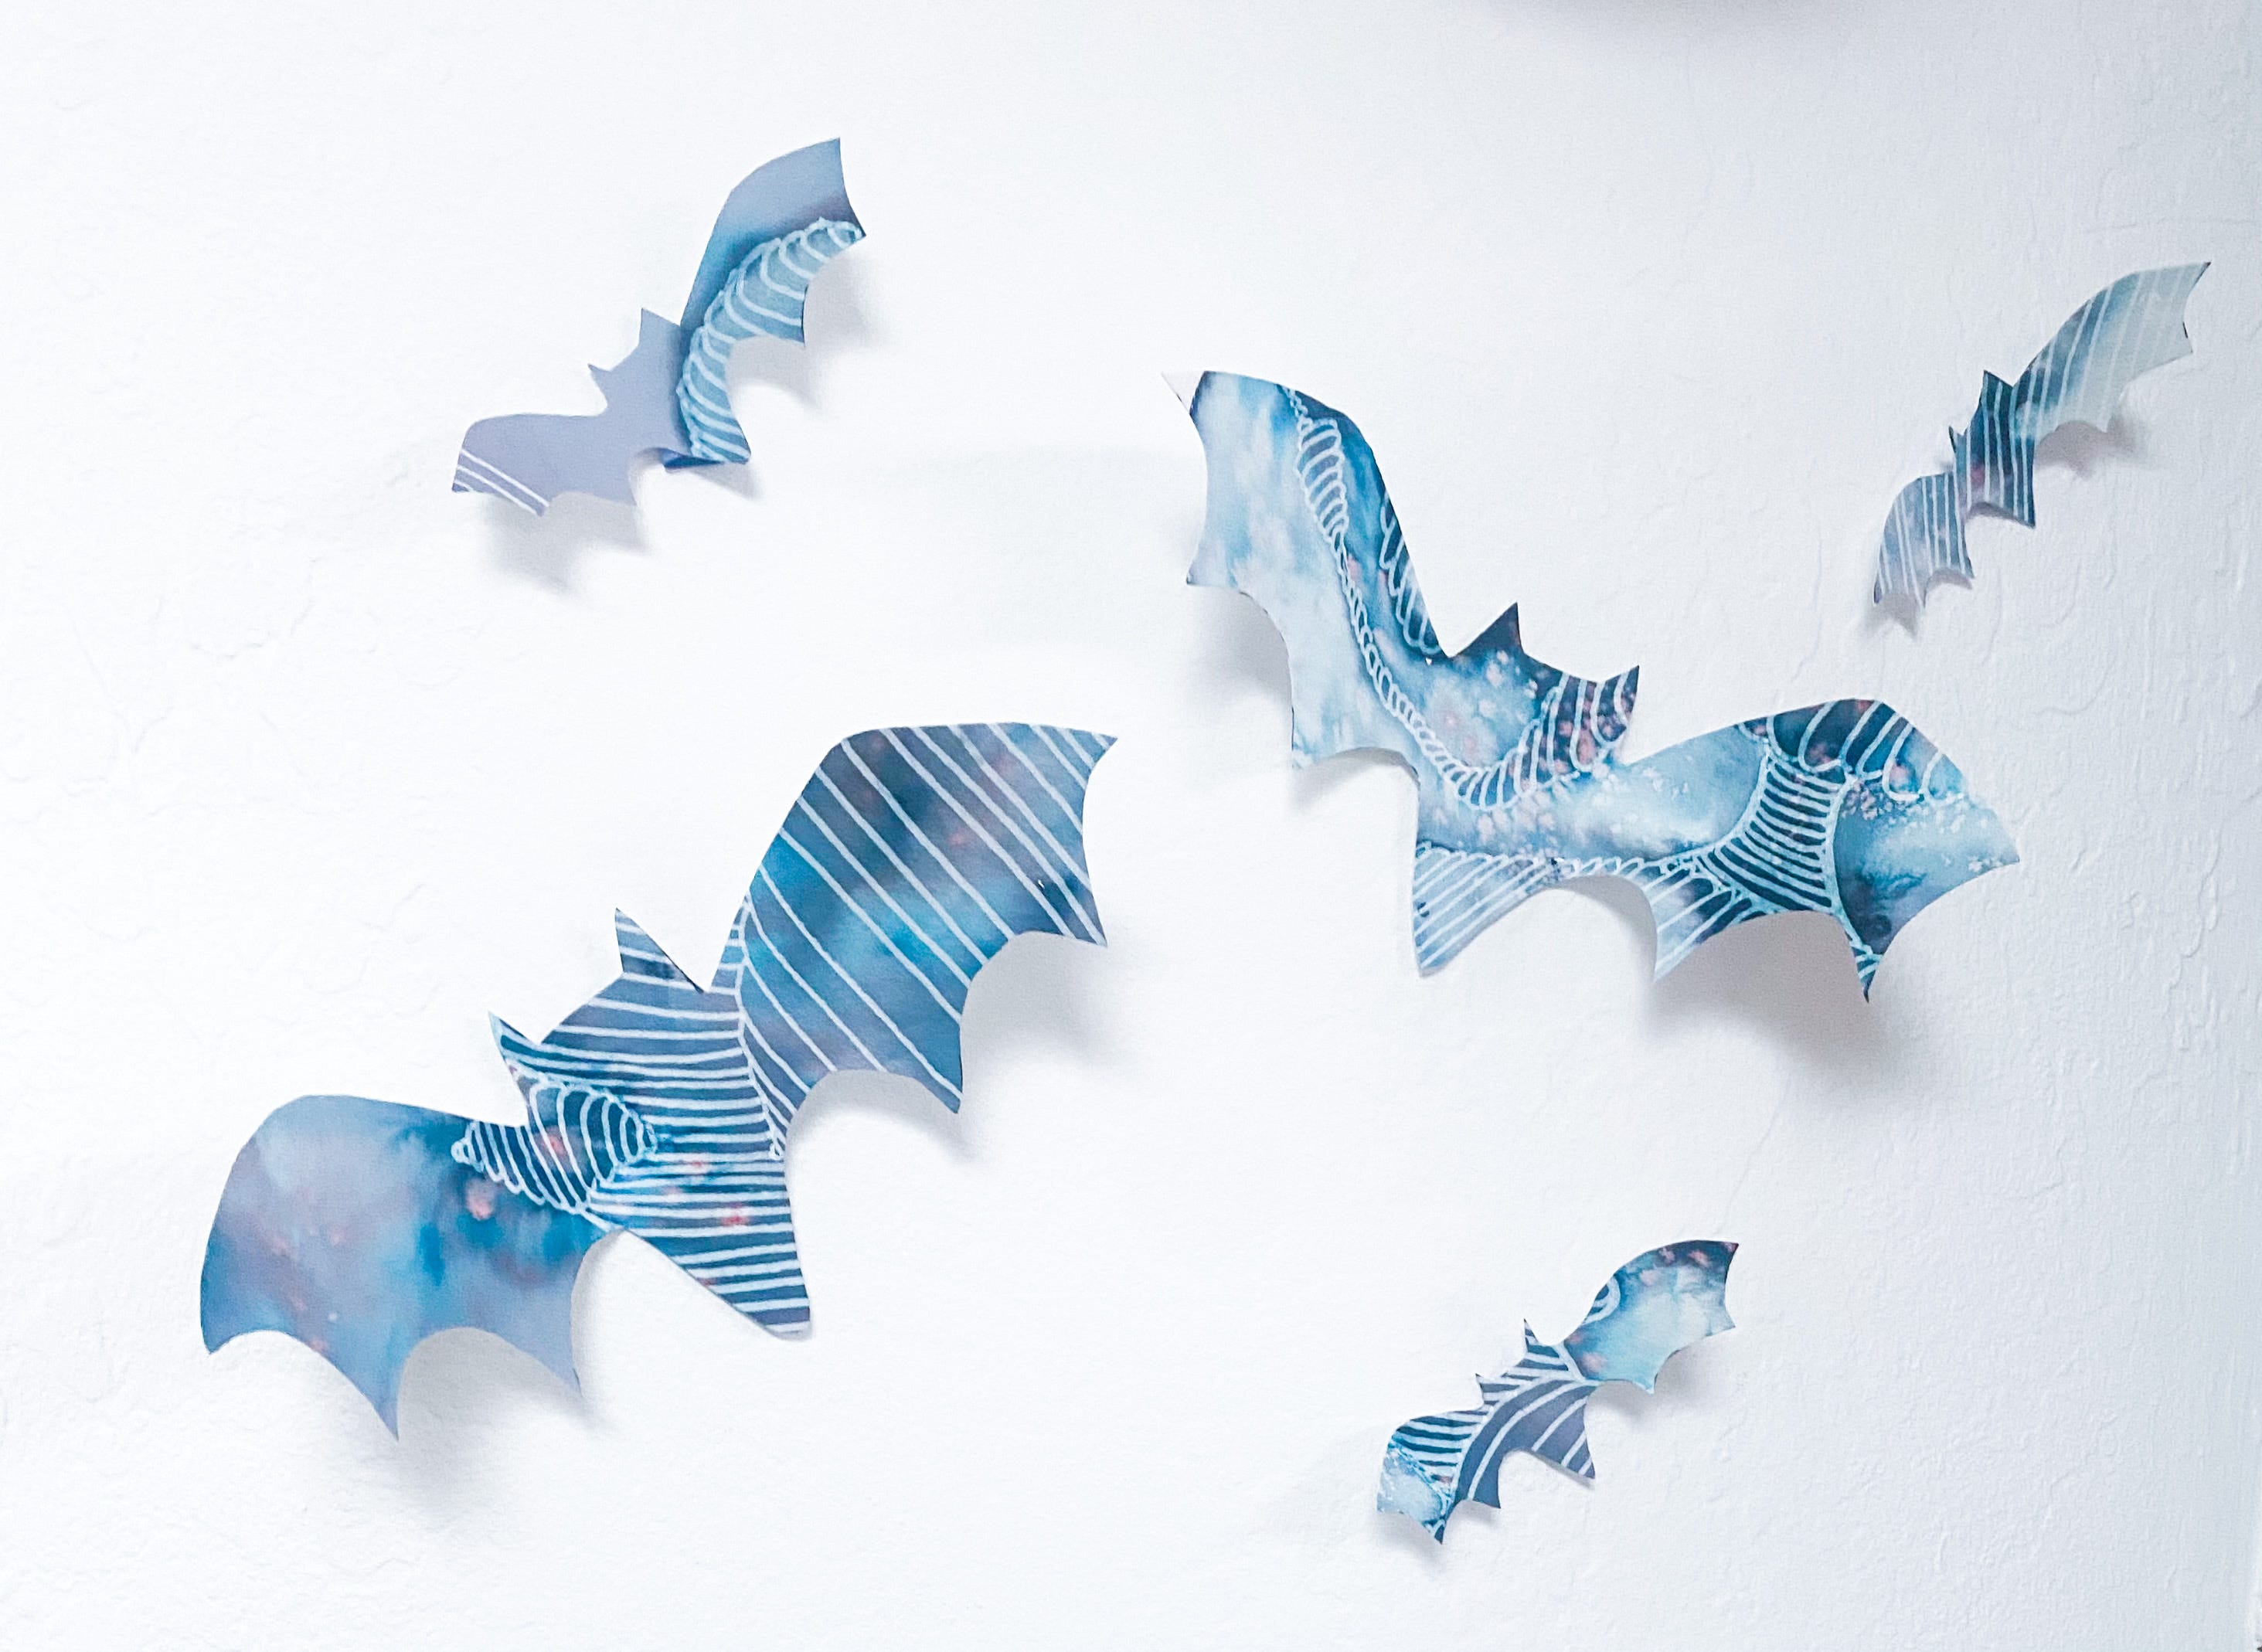
Some original fall decor
Great for kiddos & adults

Supplies:
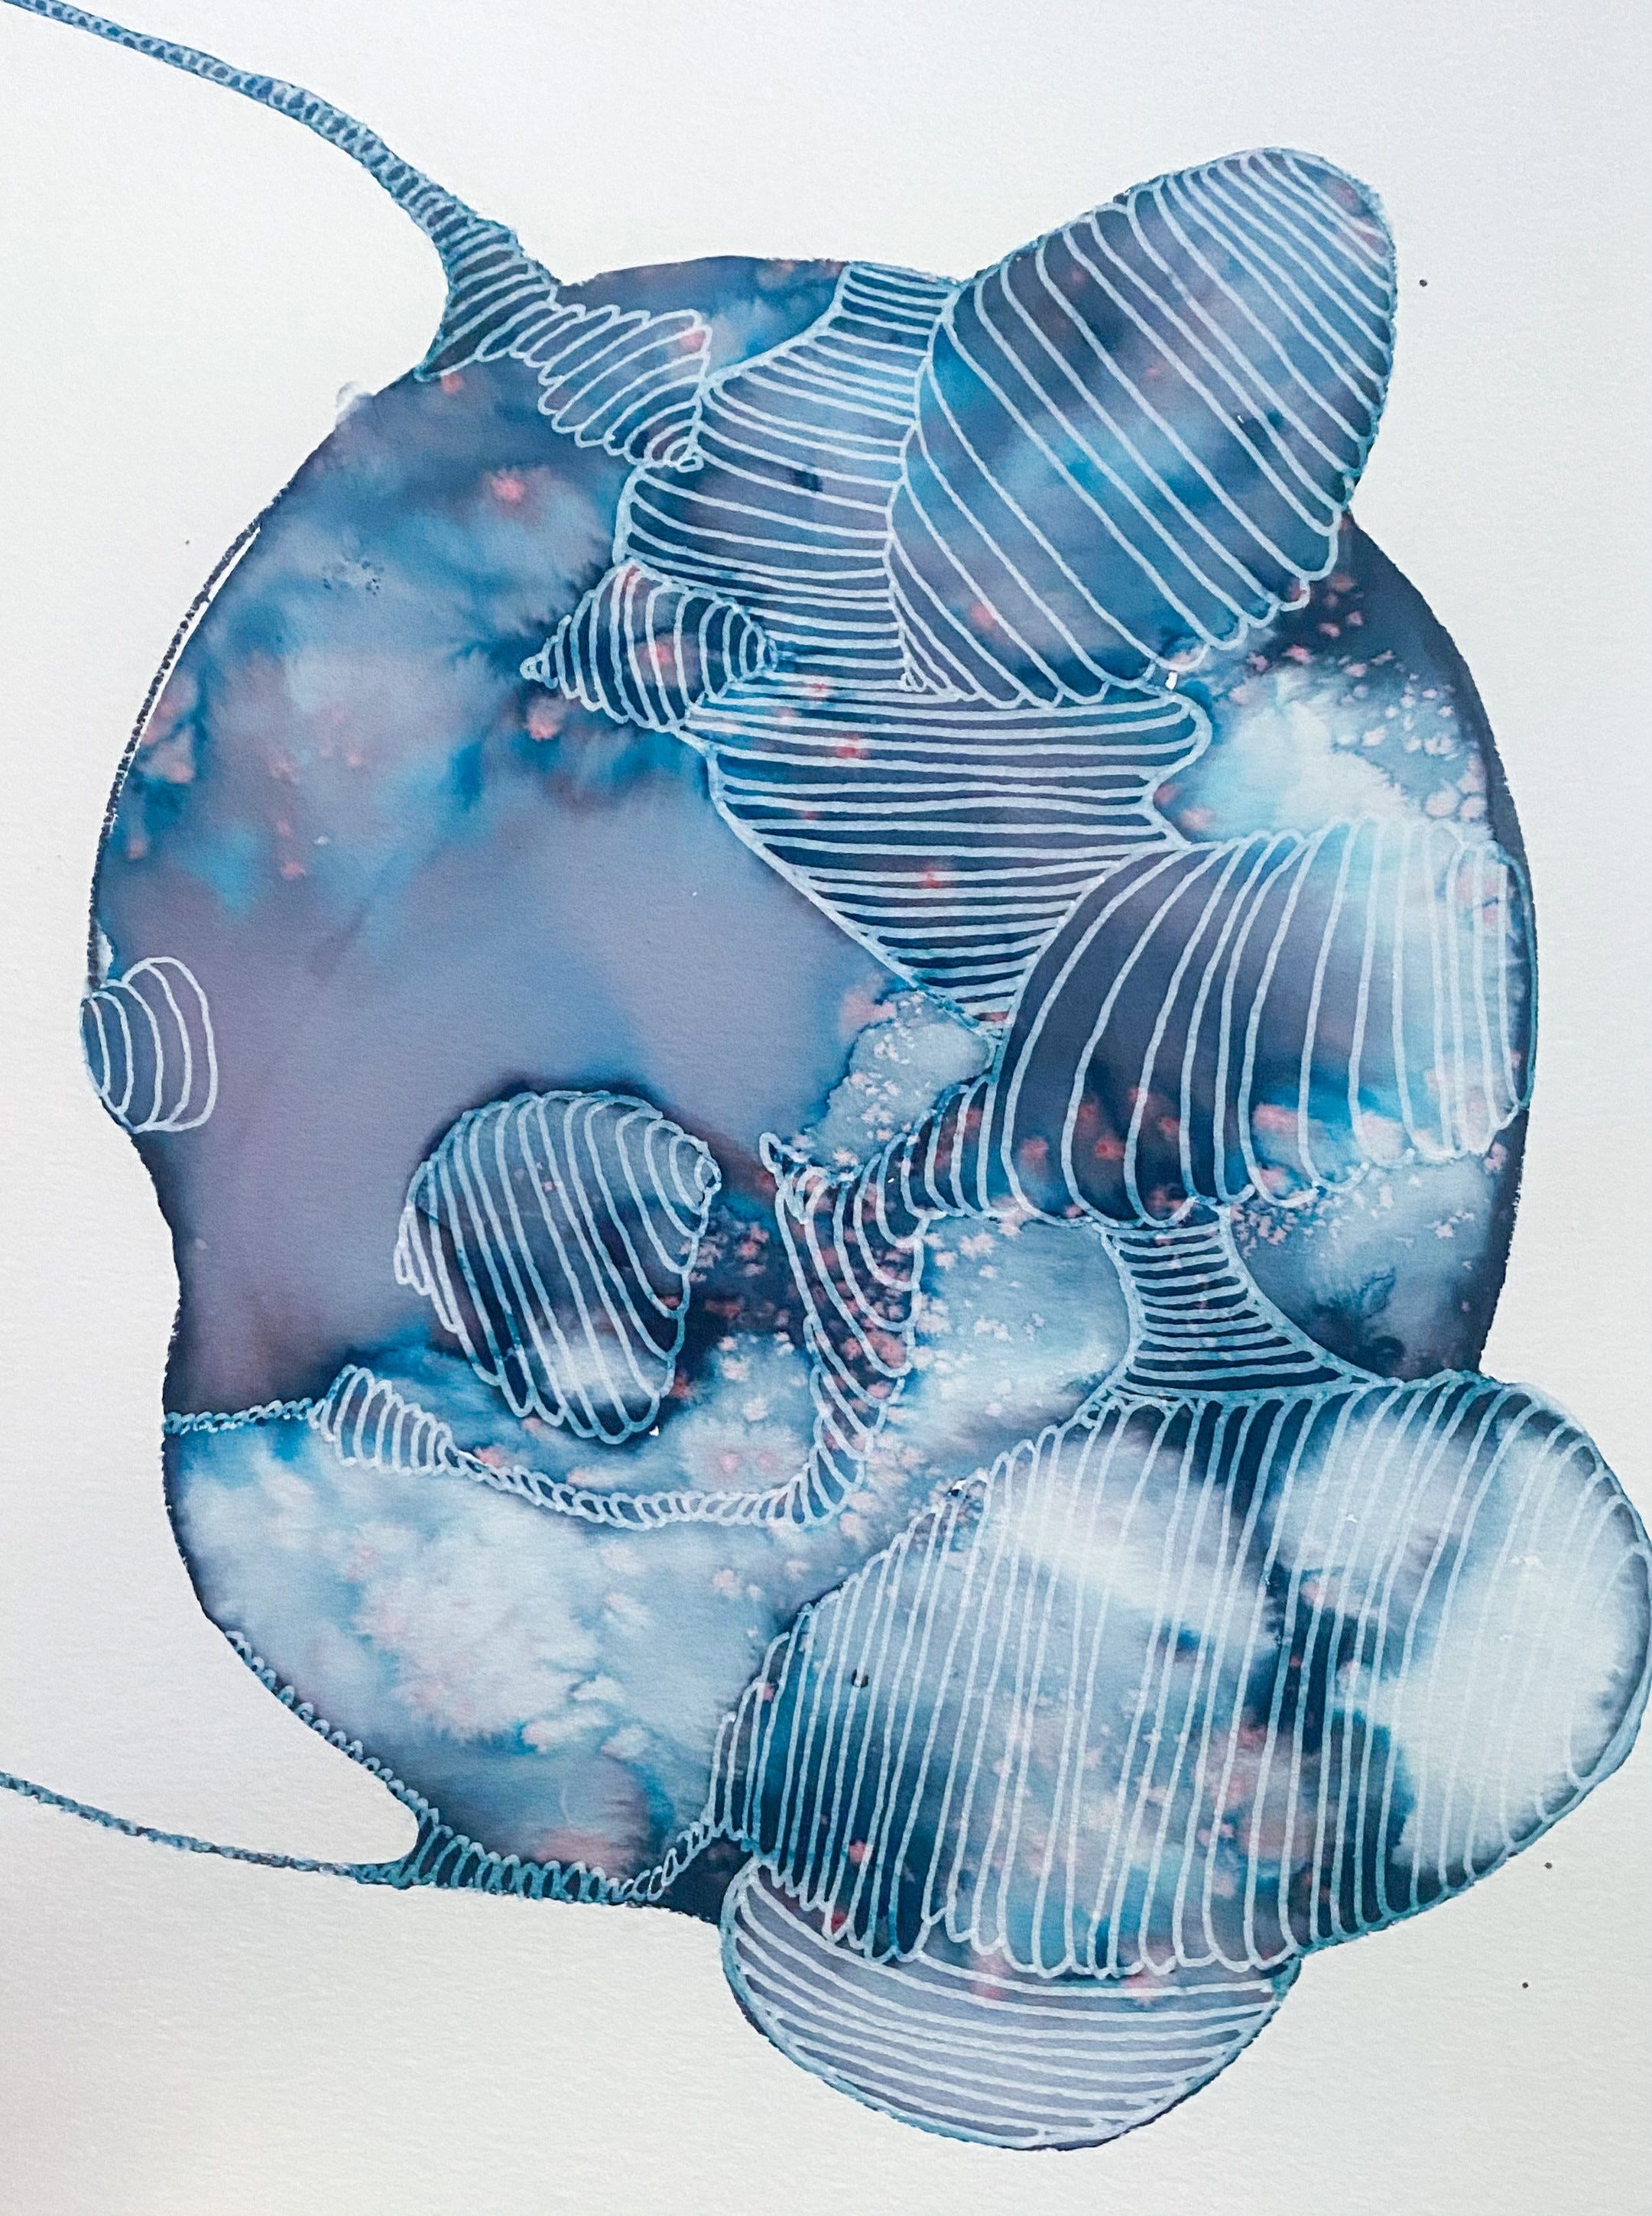
Old art on thick watercolor paper or Cardstock that you don’t mind cutting up (or make some watercolor/drawings so that you can cut them up)
Print out a free template for the bat form…or free hand it if you’d like. I used this template here.
Extra sheet of watercolor paper to make stencil out of (or you can use your printable bat page for this if you’d prefer).
Sharpie or thick pen
Scissors
Tape to adhere paper bats
Reminders:
Changing of seasons can be hard for grievers. It can serve as yet another reminder of things moving forward when our person is not here and/or life is not as it was or how we wish it was.
If creating fall decor doesn’t fit for you - totally okay. Consider how you can pivot this prompt. Is there some other shape you could create that isn’t bats or fall related that might fit better for you?
The goal is the process of creating. So if you cut off a wing, or your bats look super wonky - it is okay!
This is a great prompt for kiddos and adults. If you are wanting some process art for kiddo grievers this is a good one to try. Often when kids are creating, it allows for things to surface that has been kicking around in their minds and hearts, I encourage you to listen and be curious.
Prompt Guidance:
Choose some old art on thick paper that you’d like to use. I used our first prompt sheet of paper from the Crayola Marker Art Prompt. If cutting up your own art doesn’t sound good to you, don’t. You could even create a drawing and/or painting specifically for this prompt. If you want rainbow bats, paint some rainbows and let it dry - then you have your paper ready to use.
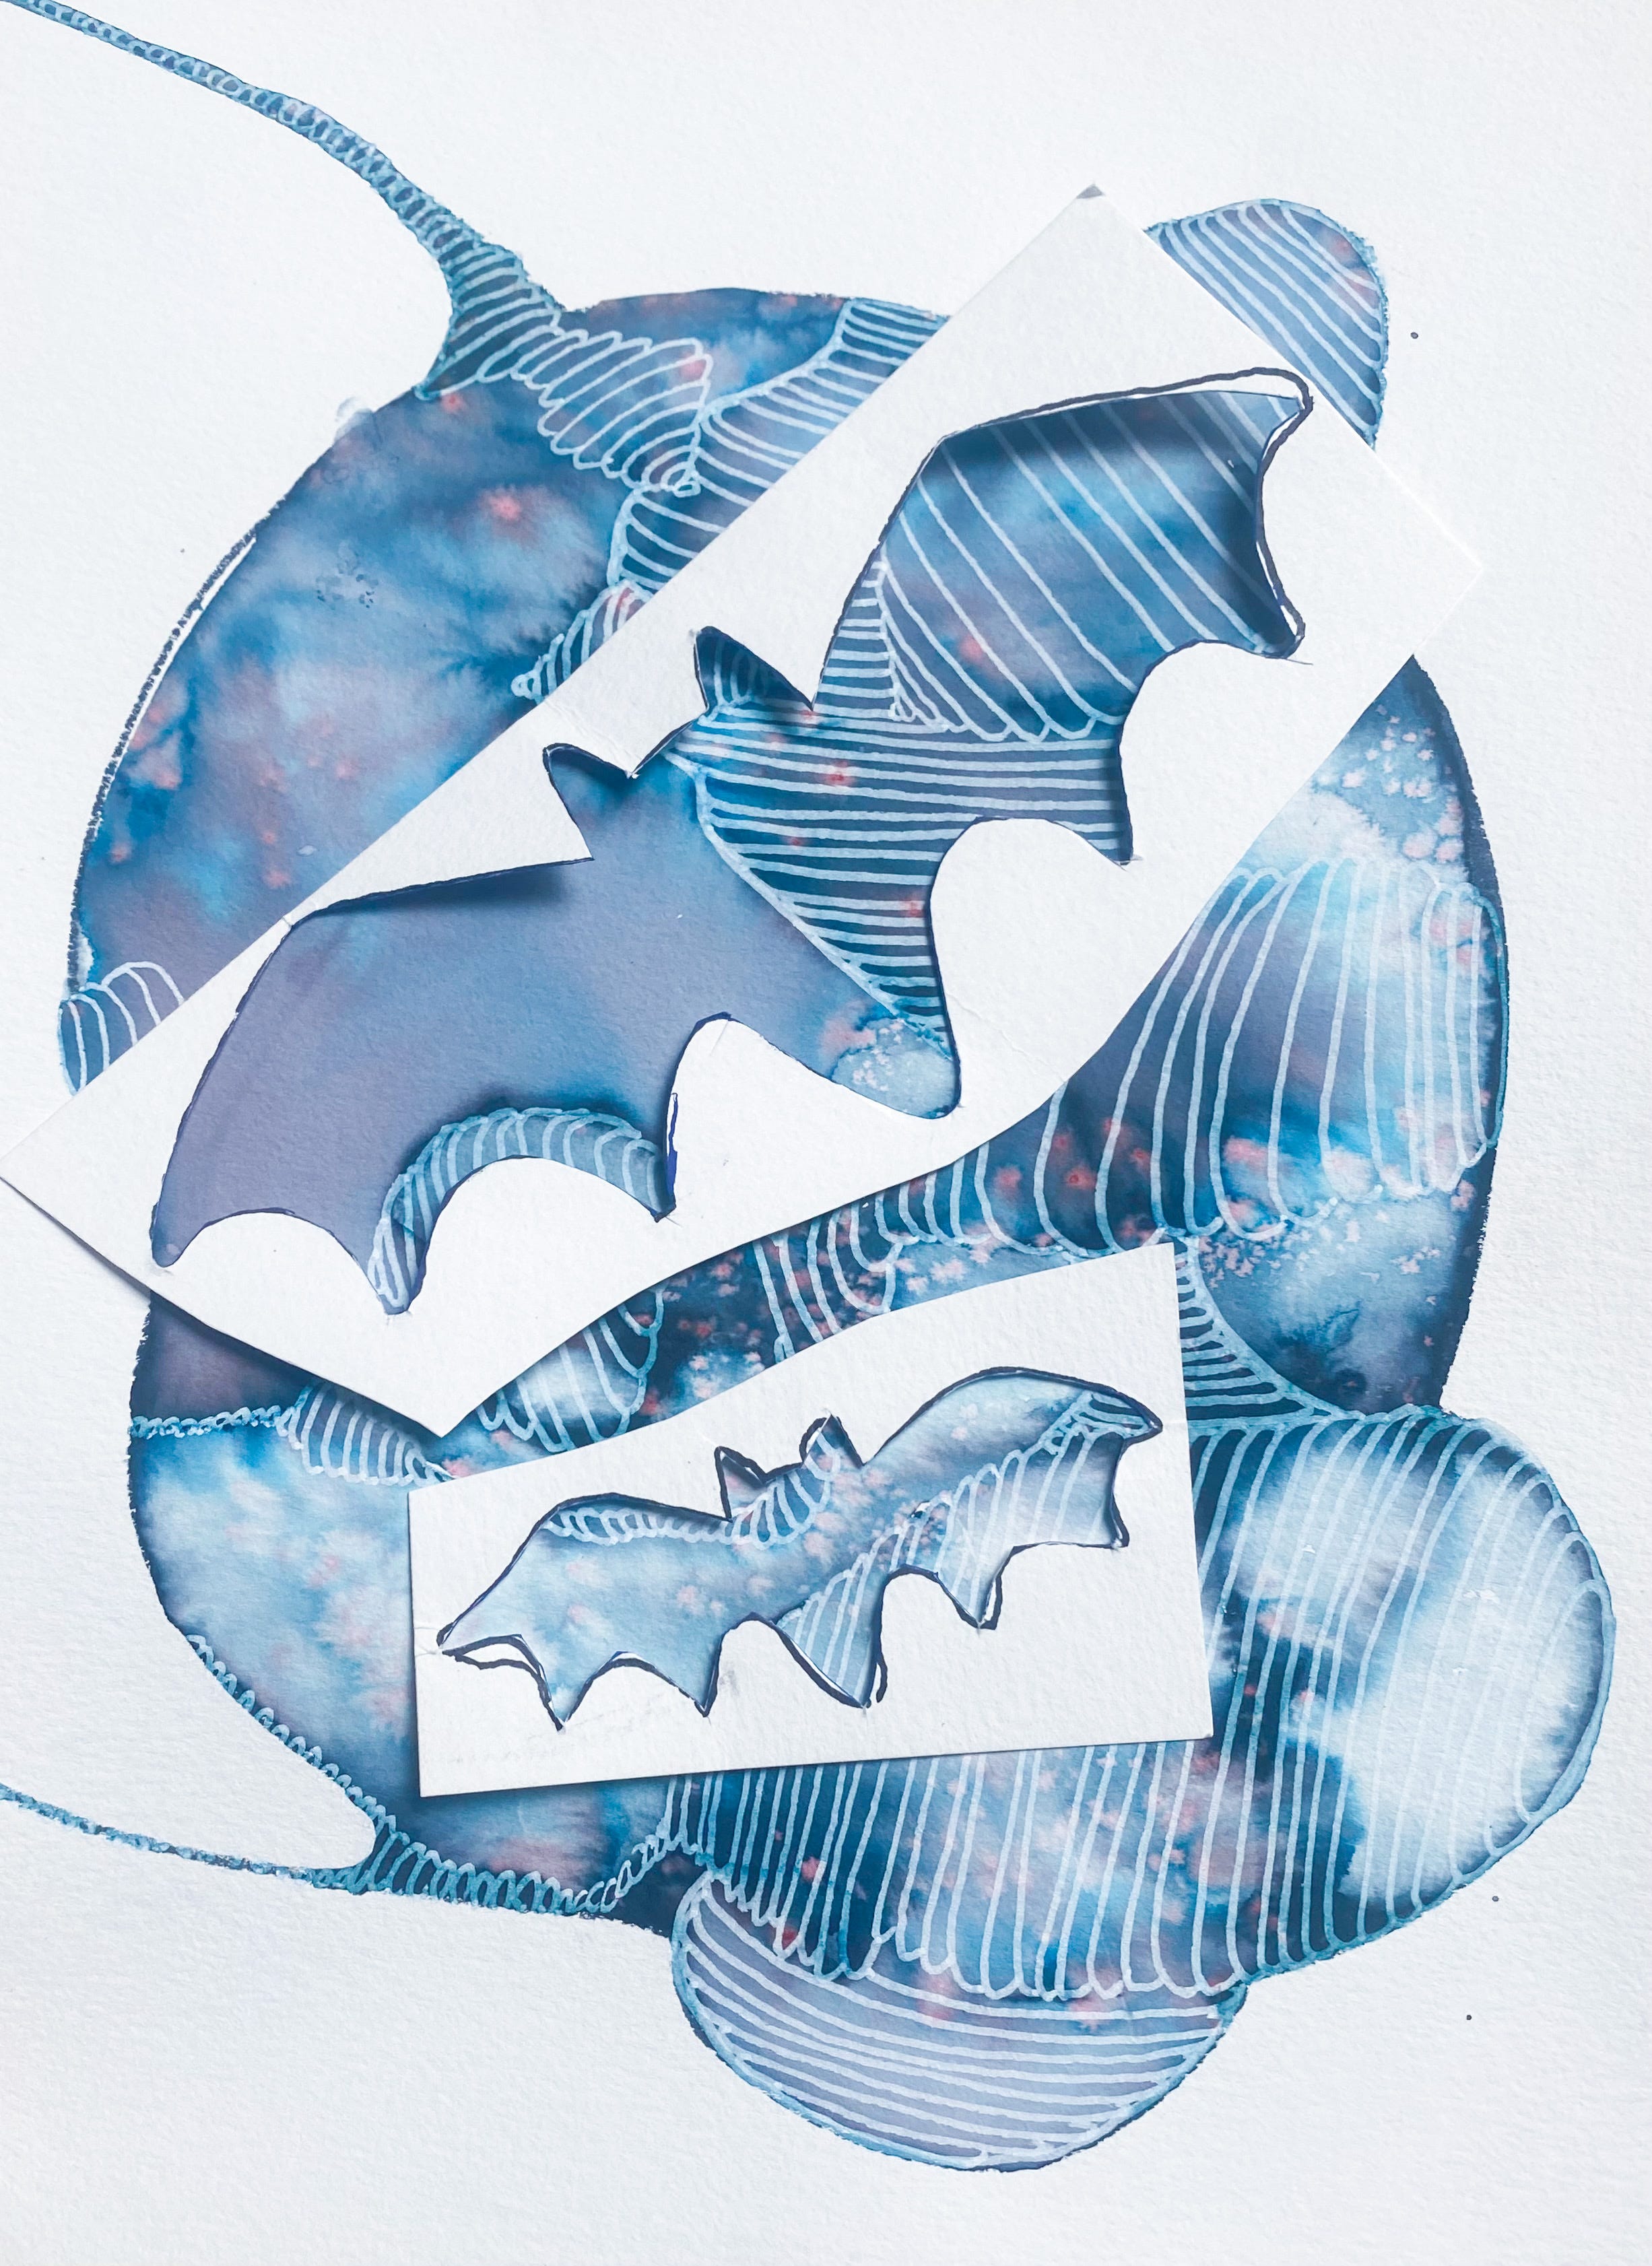
Print off your template for a bat if that’s what you have chosen to use. (Freehanding bats on to the art is also an option). See above in the supply list for the link I used for free bat template that can be printed. Use your scissors and cut out a bat or two so that it is like a stencil.
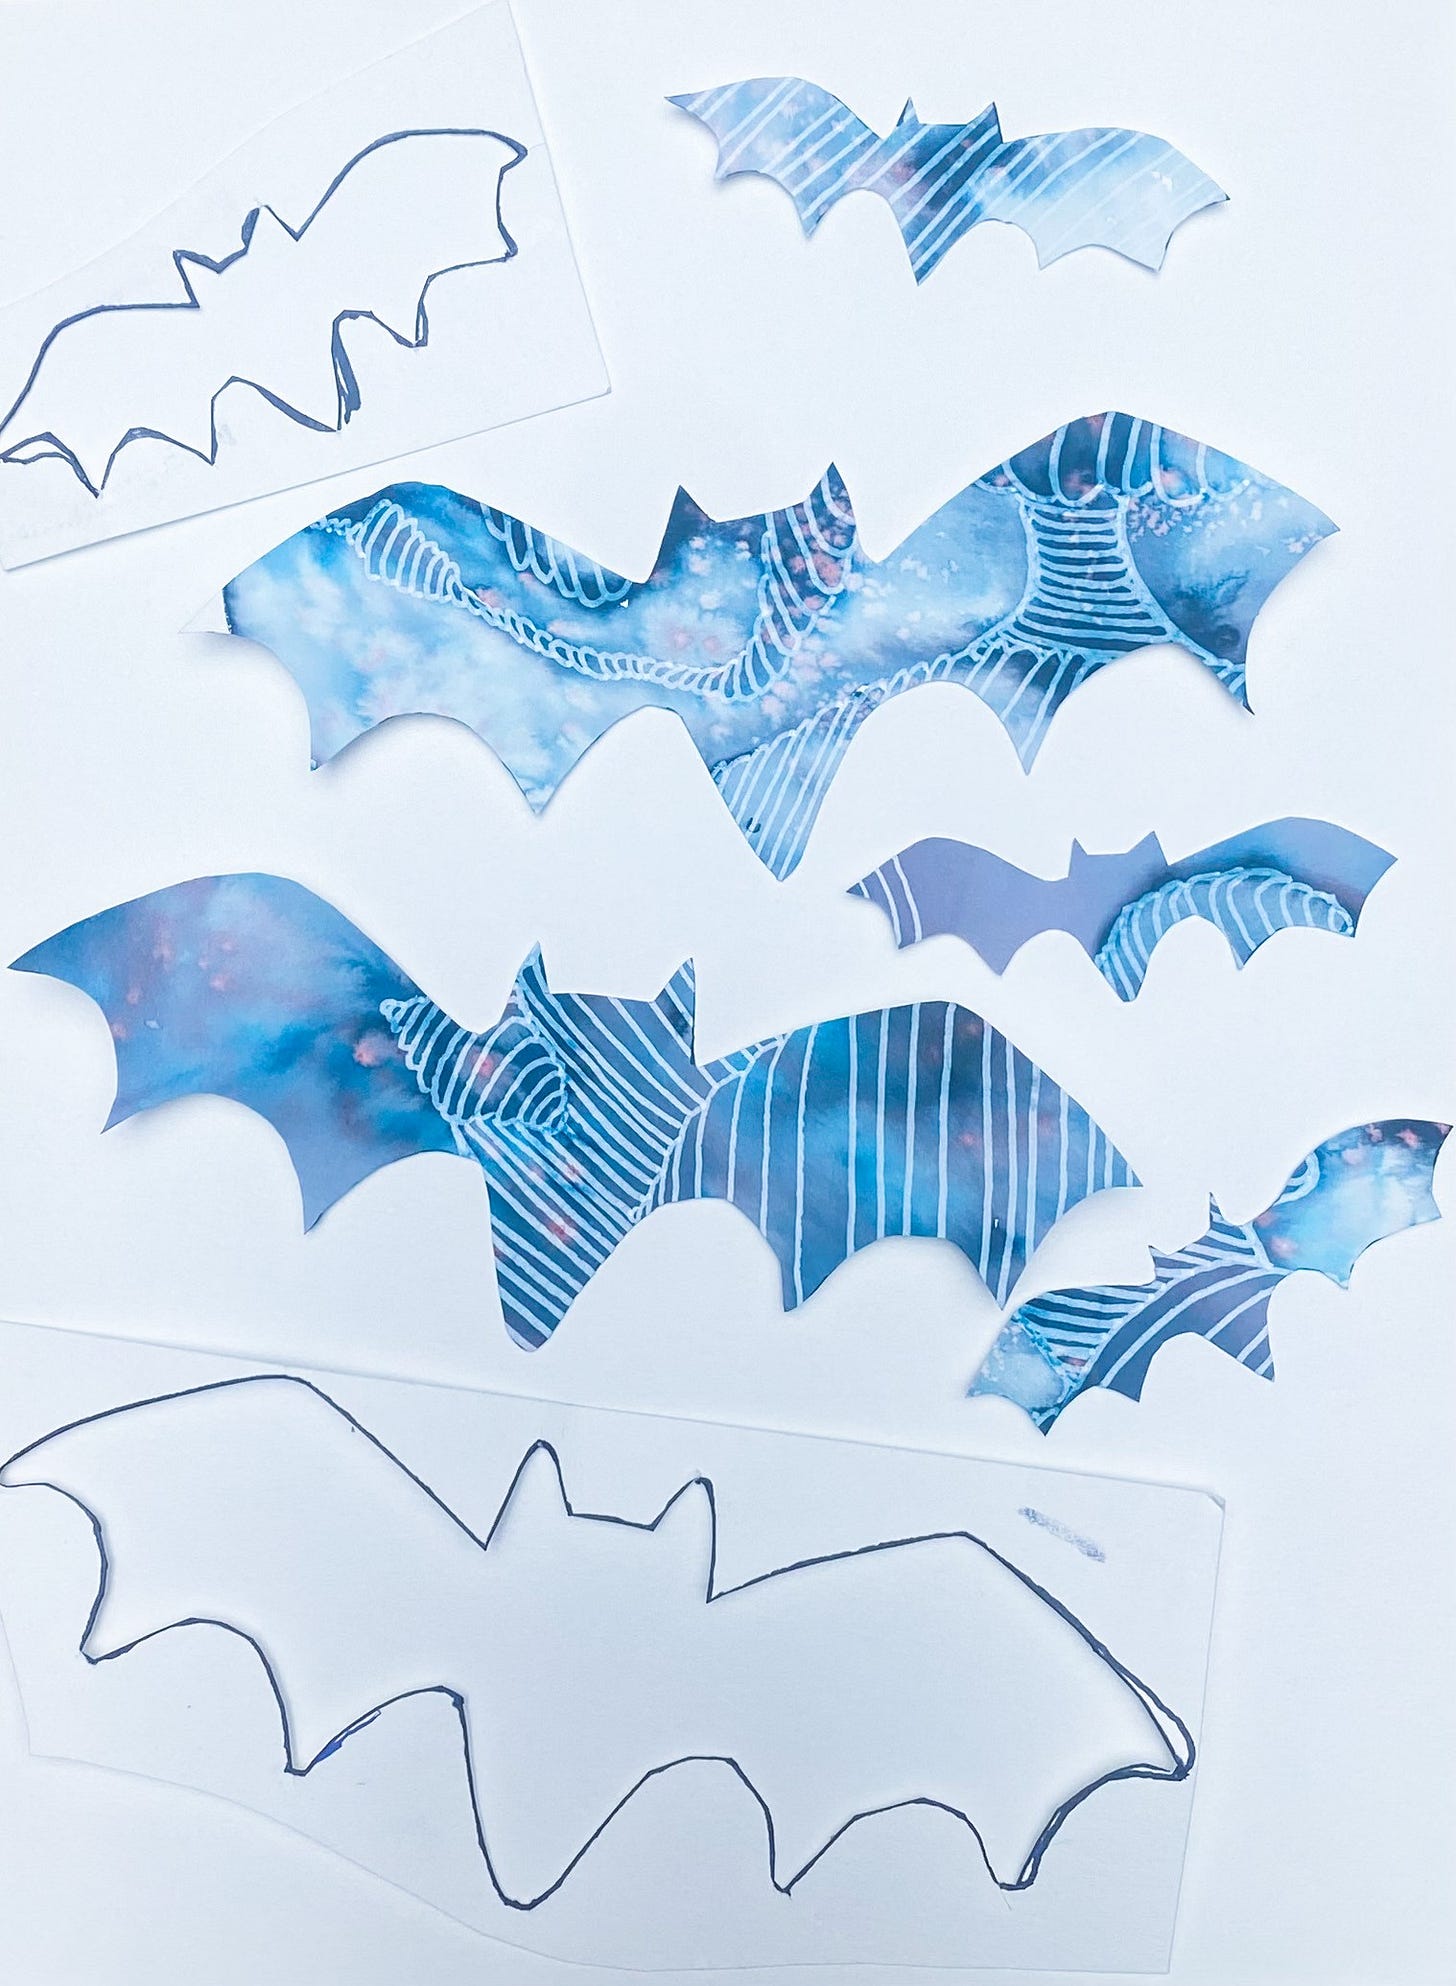
Optional step: Use a separate blank watercolor sheet of paper or cardstock and trace the bat template on with a sharpie so that you have a more sturdy stencil to use (if you skip this step simply use the template to trace) and cut it out with scissors so you have a stencil to use. I used two different shapes of bats as you can see below.
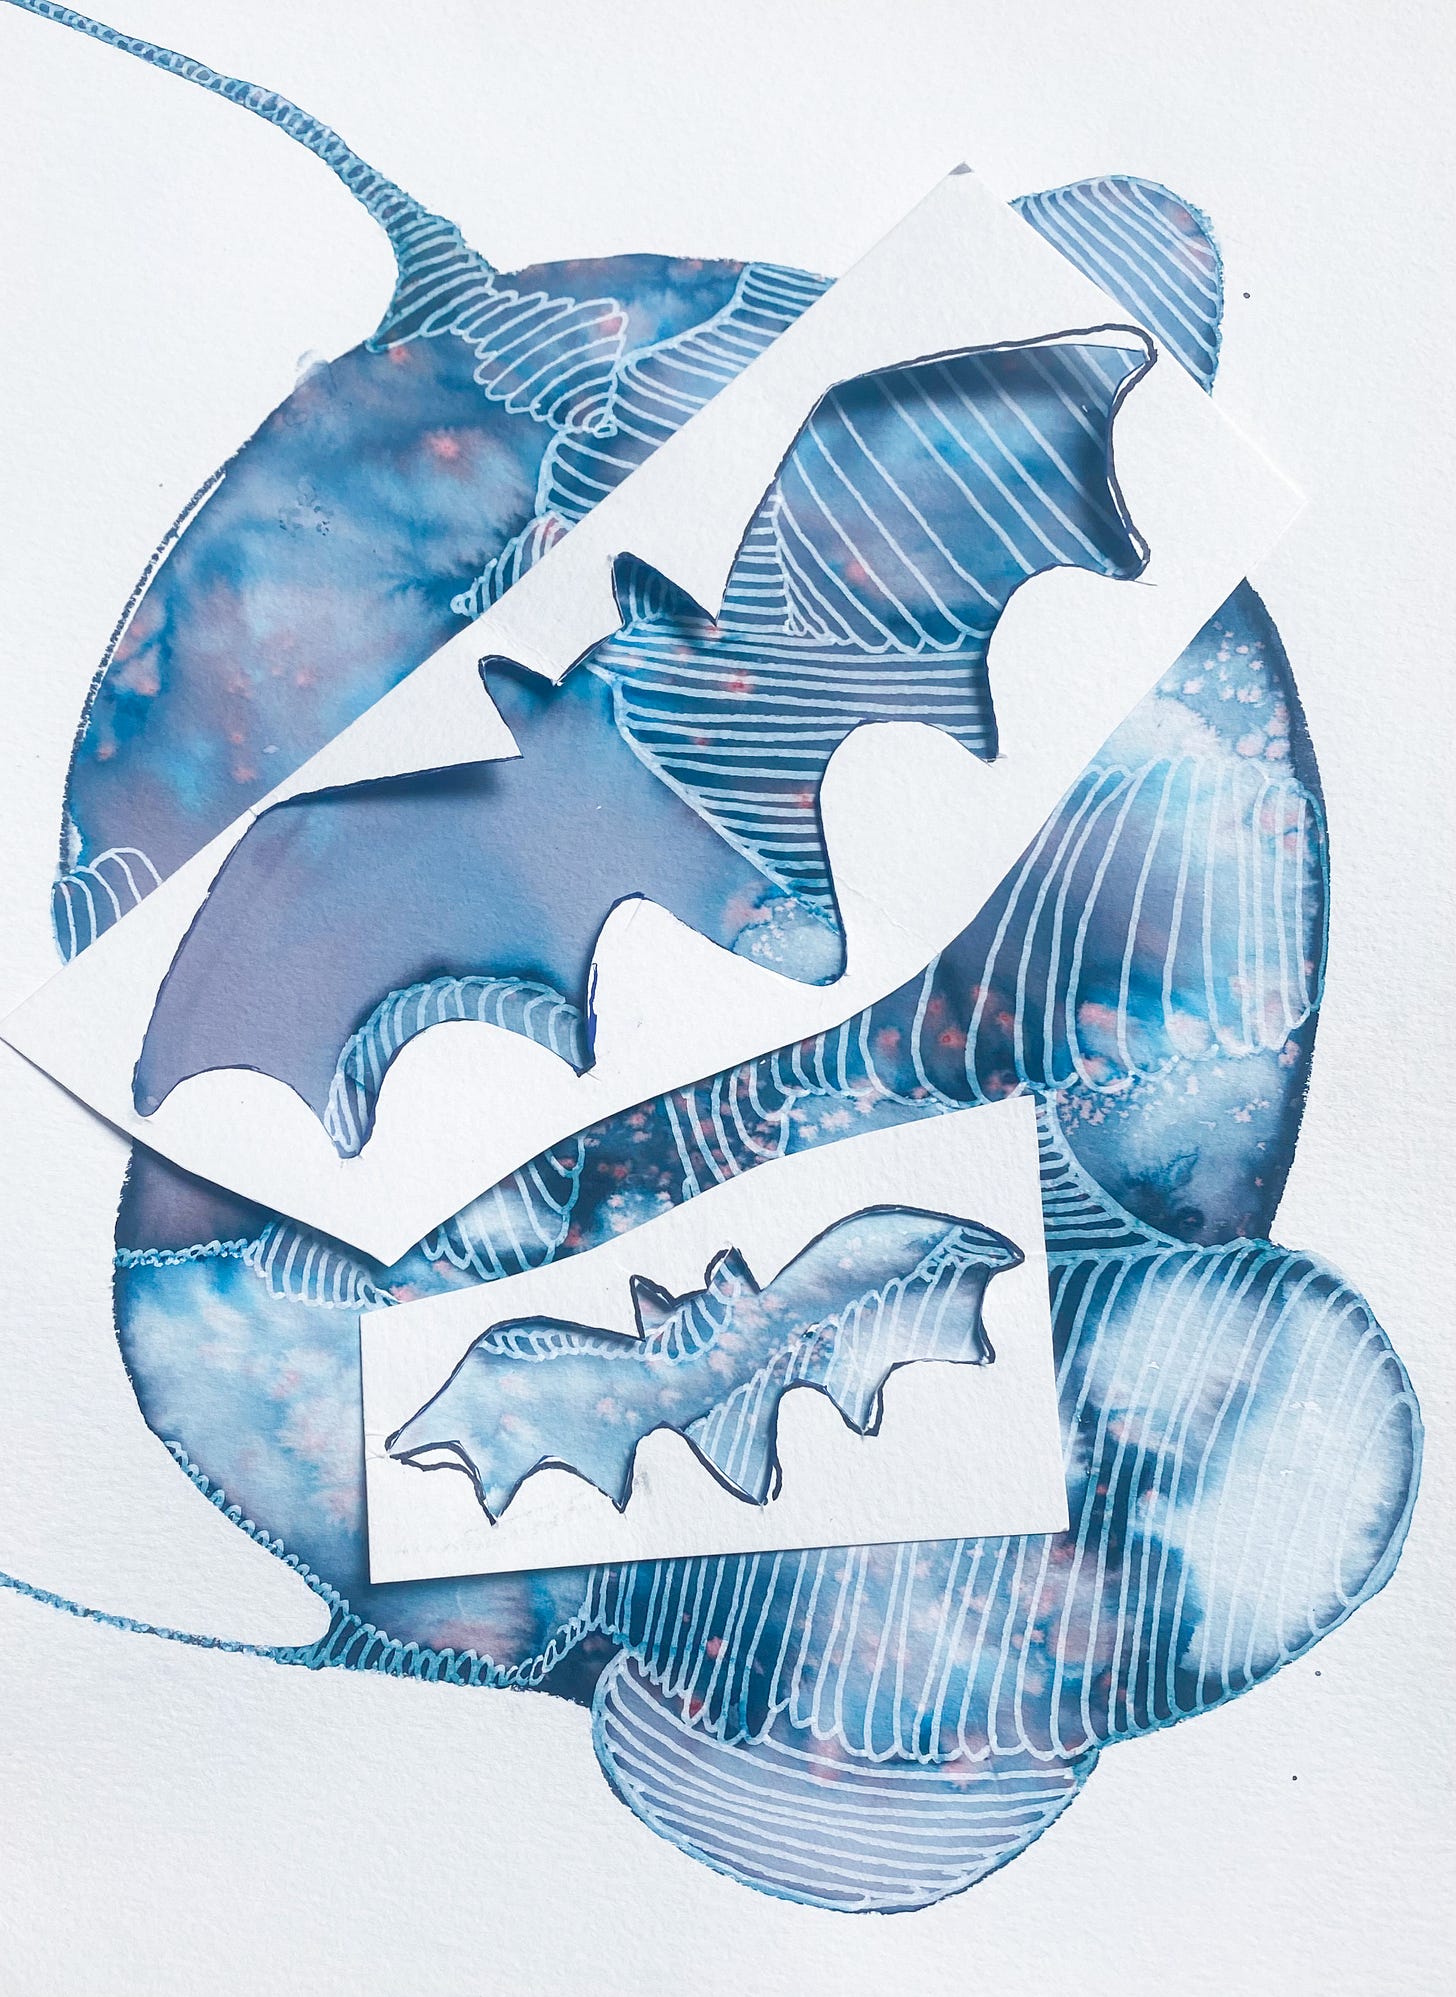
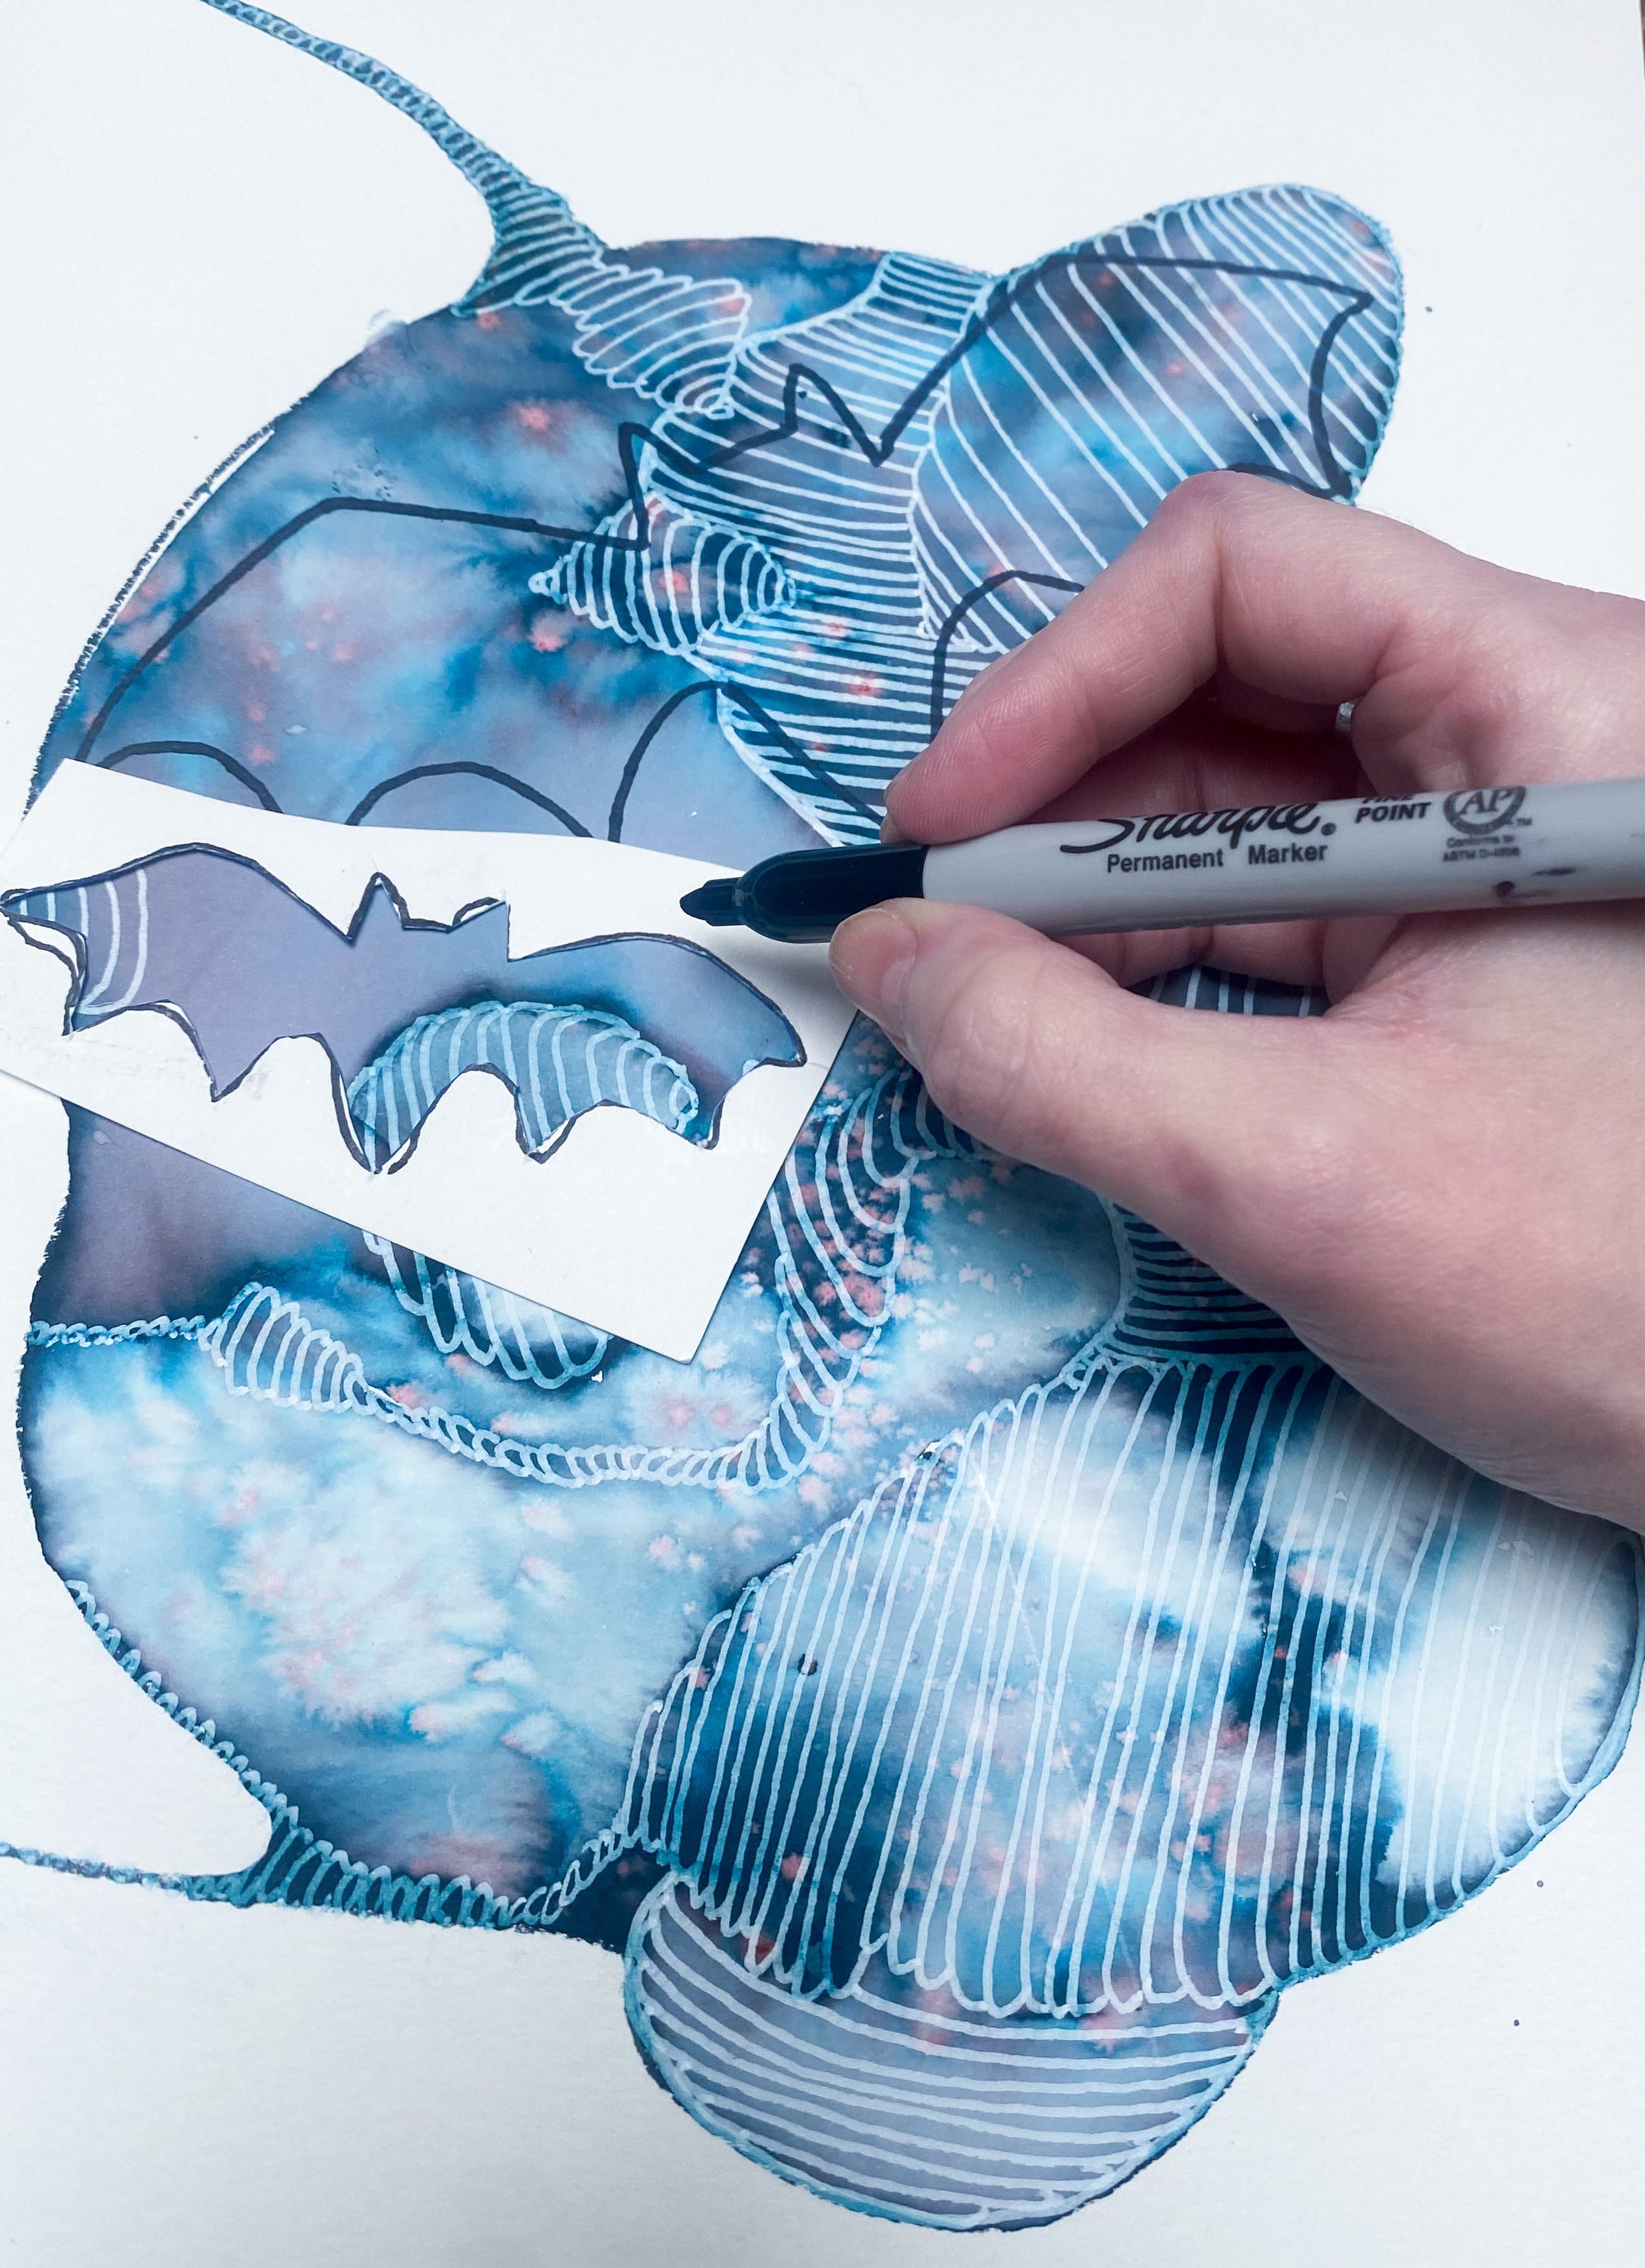
4. Use a sharpie or thick marker to trace the image onto the page. Again feel free to freehand the bat if that’s better for you. Fill in as many bats as you’d like from one sheet of paper.

5. Cut out your bats, and if you want save the scrap bits for collaging with later.
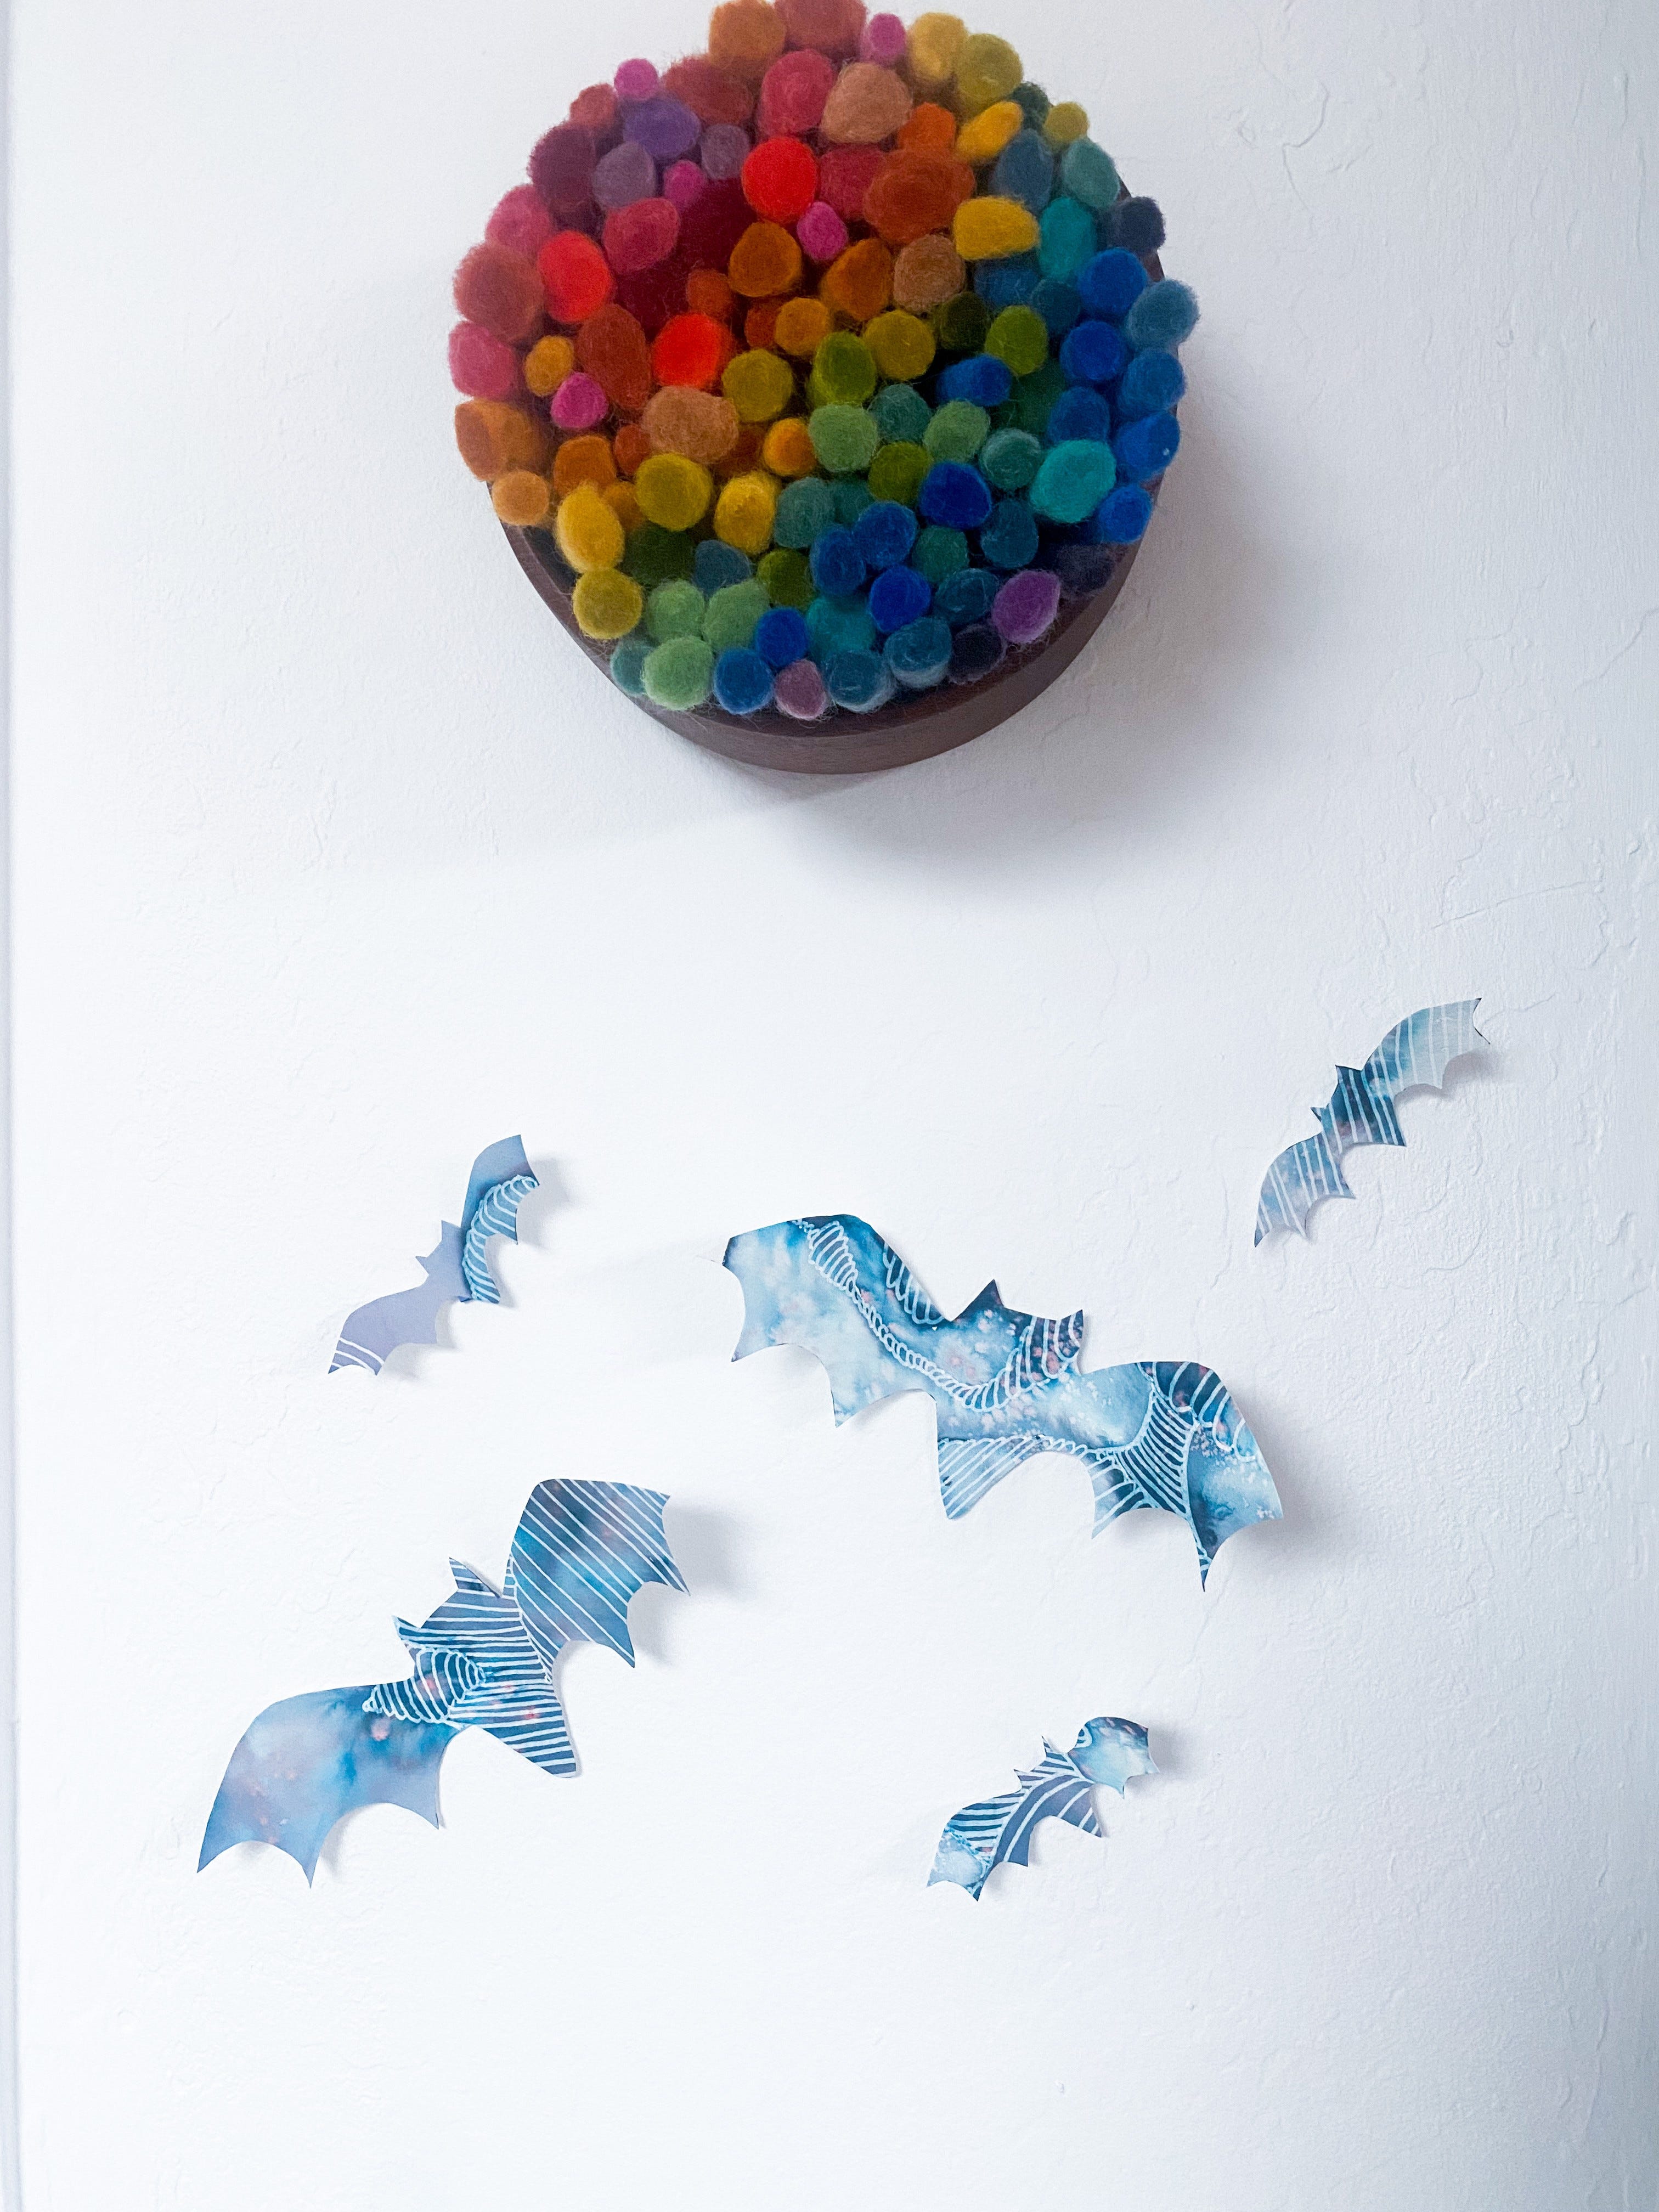
6. Once you have your bats cut out, its time to get your tape. I used painters tape to adhere them to the wall. I rounded the tape and put it on the back of the bats where its body is. If you want dimension to your bats, fold them slightly at the middle for some shadowy goodness on the wall when you adhere them.


I would love to see your bats (or other shapes) that you created using this prompt. As always I welcome feedback on how this prompt was for you!
These are great - and the photos of each step are super helpful. Thank you!